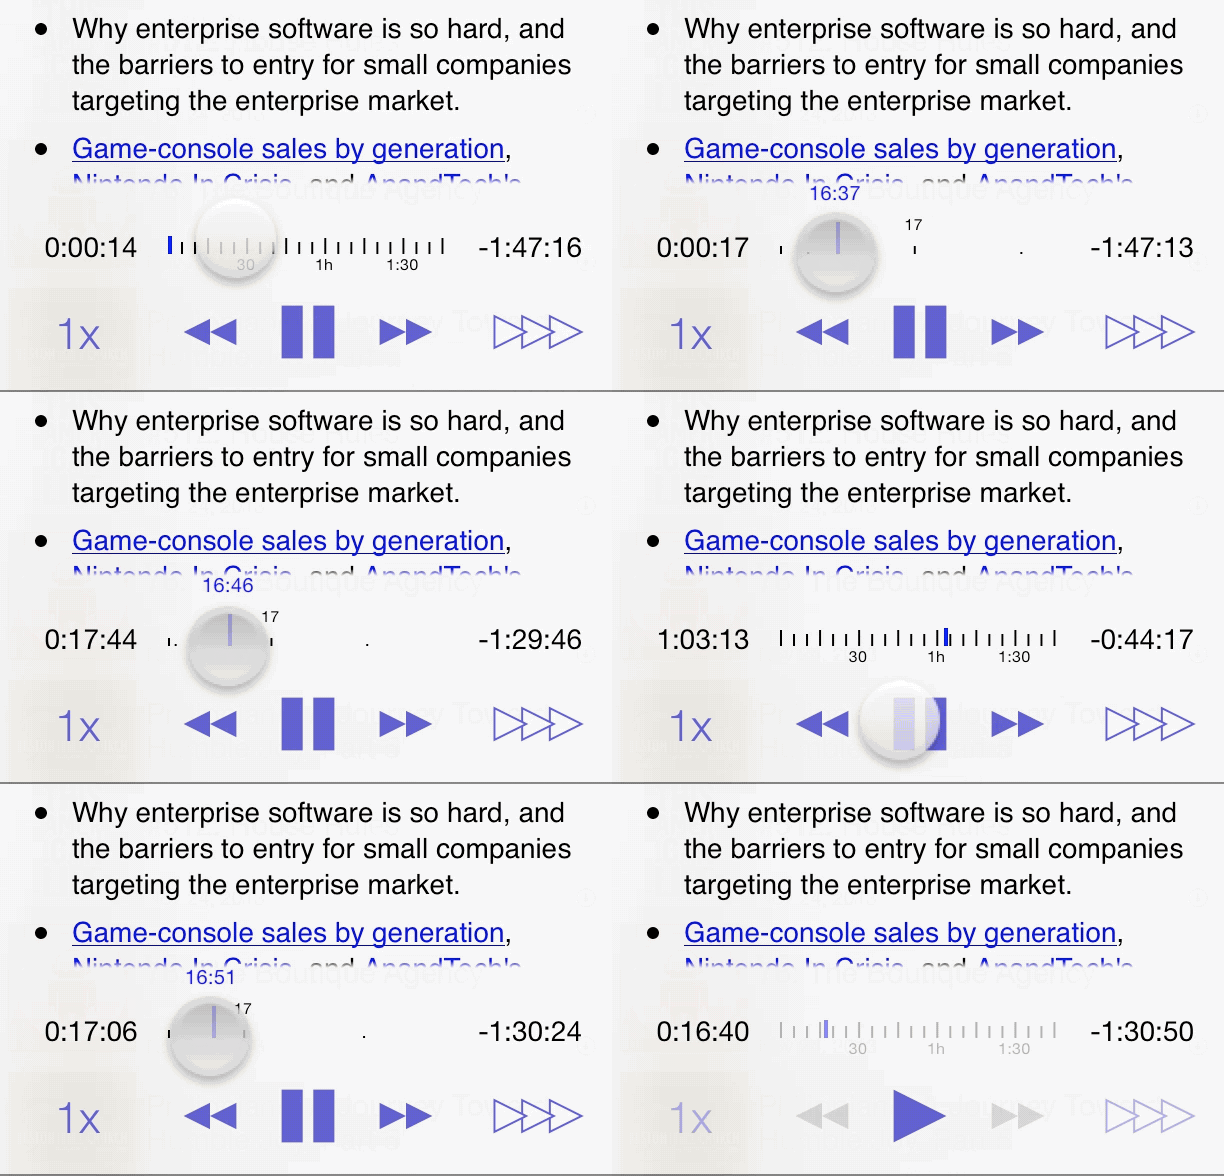
For some recent work I’ve been doing for Feed Wrangler I need to create an inline animated GIFs for communicating the new capabilities. I find there is something powerful about being able to demonstrate a new application feature visually. Textual descriptions are helpful but fail to fully encapsulate the behavior. Also, a single GIF can save me having to write dozens of boring paragraphs of explanation.

You could accomplish many of the goals of the way I use GIFs with inline videos or links to Youtube/Vimeo. However, I find that in many cases the result of a simple focused GIF is far better than a video. Firstly, they don’t require fancy hosting or embed codes to work. Any modern browser can display them inline. Their short, looping nature also make it really easy to immediately get the gist of what the video is trying to communicate. They also take far less time to create than a polished video.
I thought it might be helpful to walk through the workflow I’ve come up with to do this (of course making slightly excessive use of GIFs) It isn’t perfect but I’ve found it to work pretty well. You’ll need two applications to make this process work. The first you already have, QuickTime. The second is a cheap app from the Mac App Store, GIF Brewery. If you are recording iOS sessions I can also recommend using FakeFinger for creating a virtual ‘finger’ on the screen rather than a mouse pointer.
Recording the clip

- Prepare the target of your recording. Attempt to simply the section of the screen you want to record as much as possible. You may also want to adjust the mouse cursor size in Accessibility > Display to make it easier to see.
- Open QuickTime and select File > New Screen Recording
- Click the Red record button on the middle of the resulting panel to begin recording.
- When prompted select the rectangle of the screen you want to record.
- Perform the action you want to demonstrate. Don’t worry about any stray movements or clicks at the beginning or end of the clip, these are easily removed later.
- This will generate a .mov file. Save this wherever you’d like.
Rendering the GIF

- Open GIF Brewery and the .mov file you created.
- GIF Brewery lets you adjust the start and end point to match your desired timeline.
- You can also add captions, crop, etc.
- Once you have the result setup just how you want click Create GIF.
You may need to tweak the GIF Properties to get the color/size/speed you want. I found that a bit of quick trial-and-error here works great to narrow in on the desired result.
I wouldn’t recommend more than a single GIF per screen full of text. The motion can be distracting. Also, it is nice to add a long final frame delay to the end to add a pause between loops.