Continuing Education
This morning’s bit of learning comes in the form of watching a great video on objc about building a ScrollView with sticky tabs. It is always lovely when my current work aligns with the tutorials on sites like this. Their approach to building a custom tab interface is largely similar to mine, which is a great confirmation I’m on a good path.
I did, however, learn about the coordinateSpace modifier which I wasn’t aware of before. I’d previously been doing all my coordinates stuff in .global and then doing a ton of computations to get things right.
I highly recommend objc.io as a great resource for learning about Swift and SwiftUI. Their Thinking in SwiftUI book was especially helpful to me. I very rarely find programming books a good fit for the way I learn, but it wasn’t until I read this book that I really a solid grasp on how SwiftUI works, and thus could make proper use of it.
Converting Objective-C to Swift
The majority of today was spent converting the old badge achievement logic from Objective-C to Swift. While not strictly necessary (I could bridge it into the Obj-C system), I think it will make future maintenance and features way easier to build if I spend the time now.
This process was rather tedious and slow going but I made good progress nevertheless. Tomorrow hopefully I’ll wrap it up and then build out a testing script to confirm I did the conversion correctly.
Sparkle Magic
As a little rewards for the tedium of the Obj-C to Swift conversion I also built out the “Sparkle View” for the badges to indicate which have been recently earned. This little touch alerts users to newly earned badges on the tab item as well as on the badges themselves. Previously I’d done this with a CAEmitterLayer, but thanks to the power of TimelineView I could pretty straightforwardly build this is straight SwiftUI.
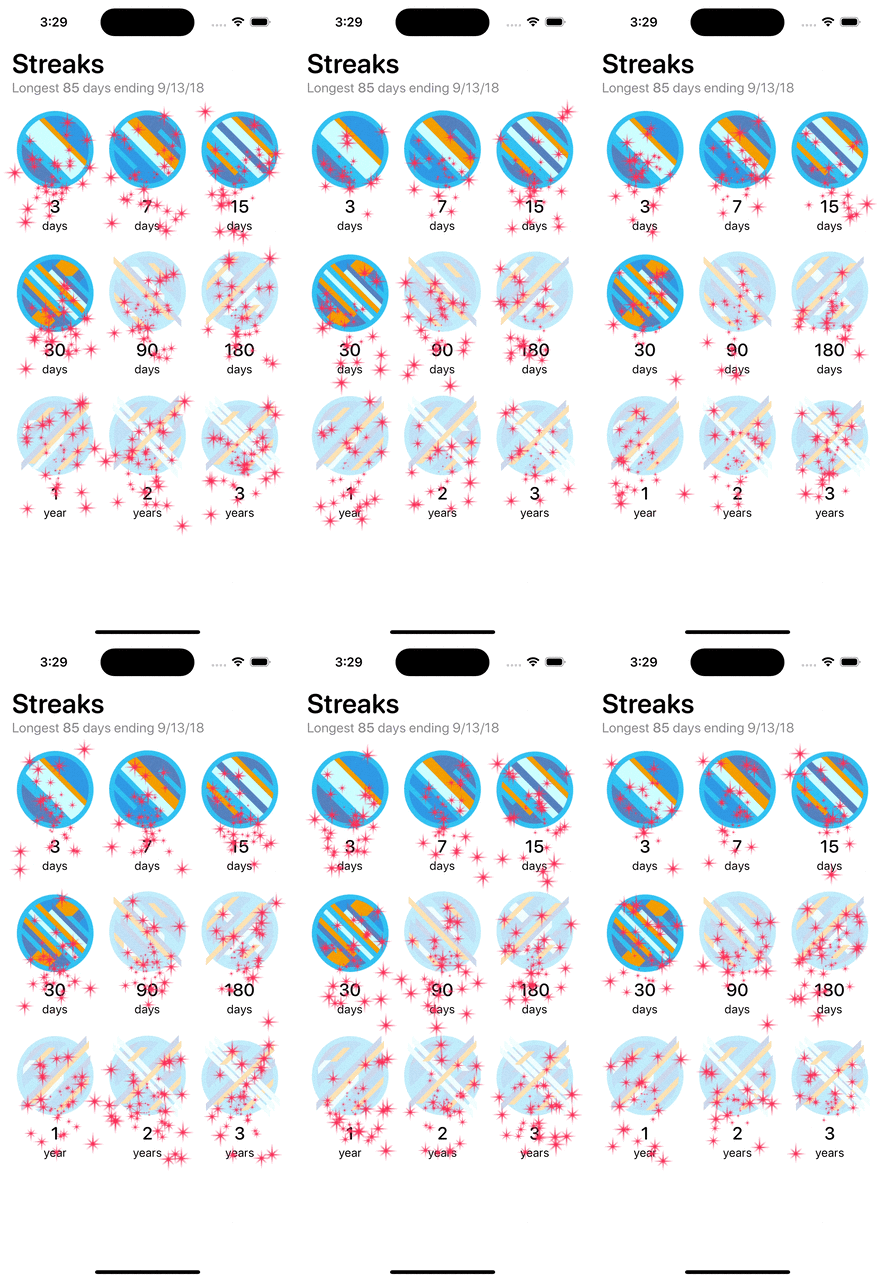
That isn’t to say the process was without its comedic failures. My first pass at it ended up creating a “flying through space” starfield effect.

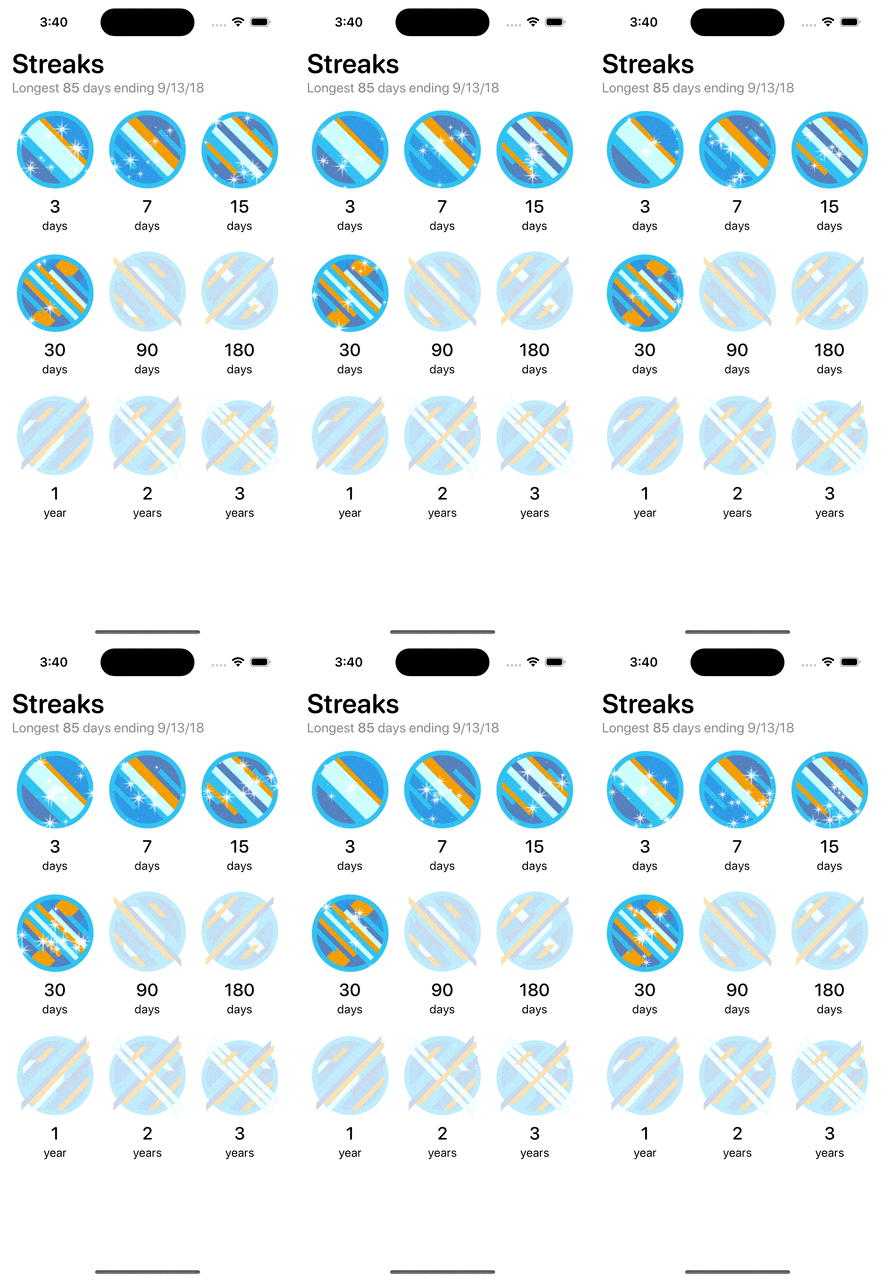
But after a bit of tweaking I was able to land on the desired look:

If you are curious about how I’m doing this, I published the code here. This code isn’t finalized or clean, but it should give you a good idea of how you can leverage TimelineViews for this kind of effect.