So far the most compelling experiences I’ve had while wearing an Apple Vision Pro have leaned heavily into the immersive abilities of the device. The Immersive Videos are fantastic, but where things really get interesting is when the immersiveness is derived from my own memories. Spatial Video is very cool, but I’m still trying to find my way with how best to record them, but I have absolute clarity about how to record for the other immersive memory experience, Panoramas.
I am a very avid hiker. I am never more at peace than I am on the top of the mountain. The wilderness is my happy place and whenever I leave it, I always long to return. In the visionOS Photos app there is the ability to wrap your panoramic photos around you in a way which gives you a strong sense of being back in the spot the photo was taken.
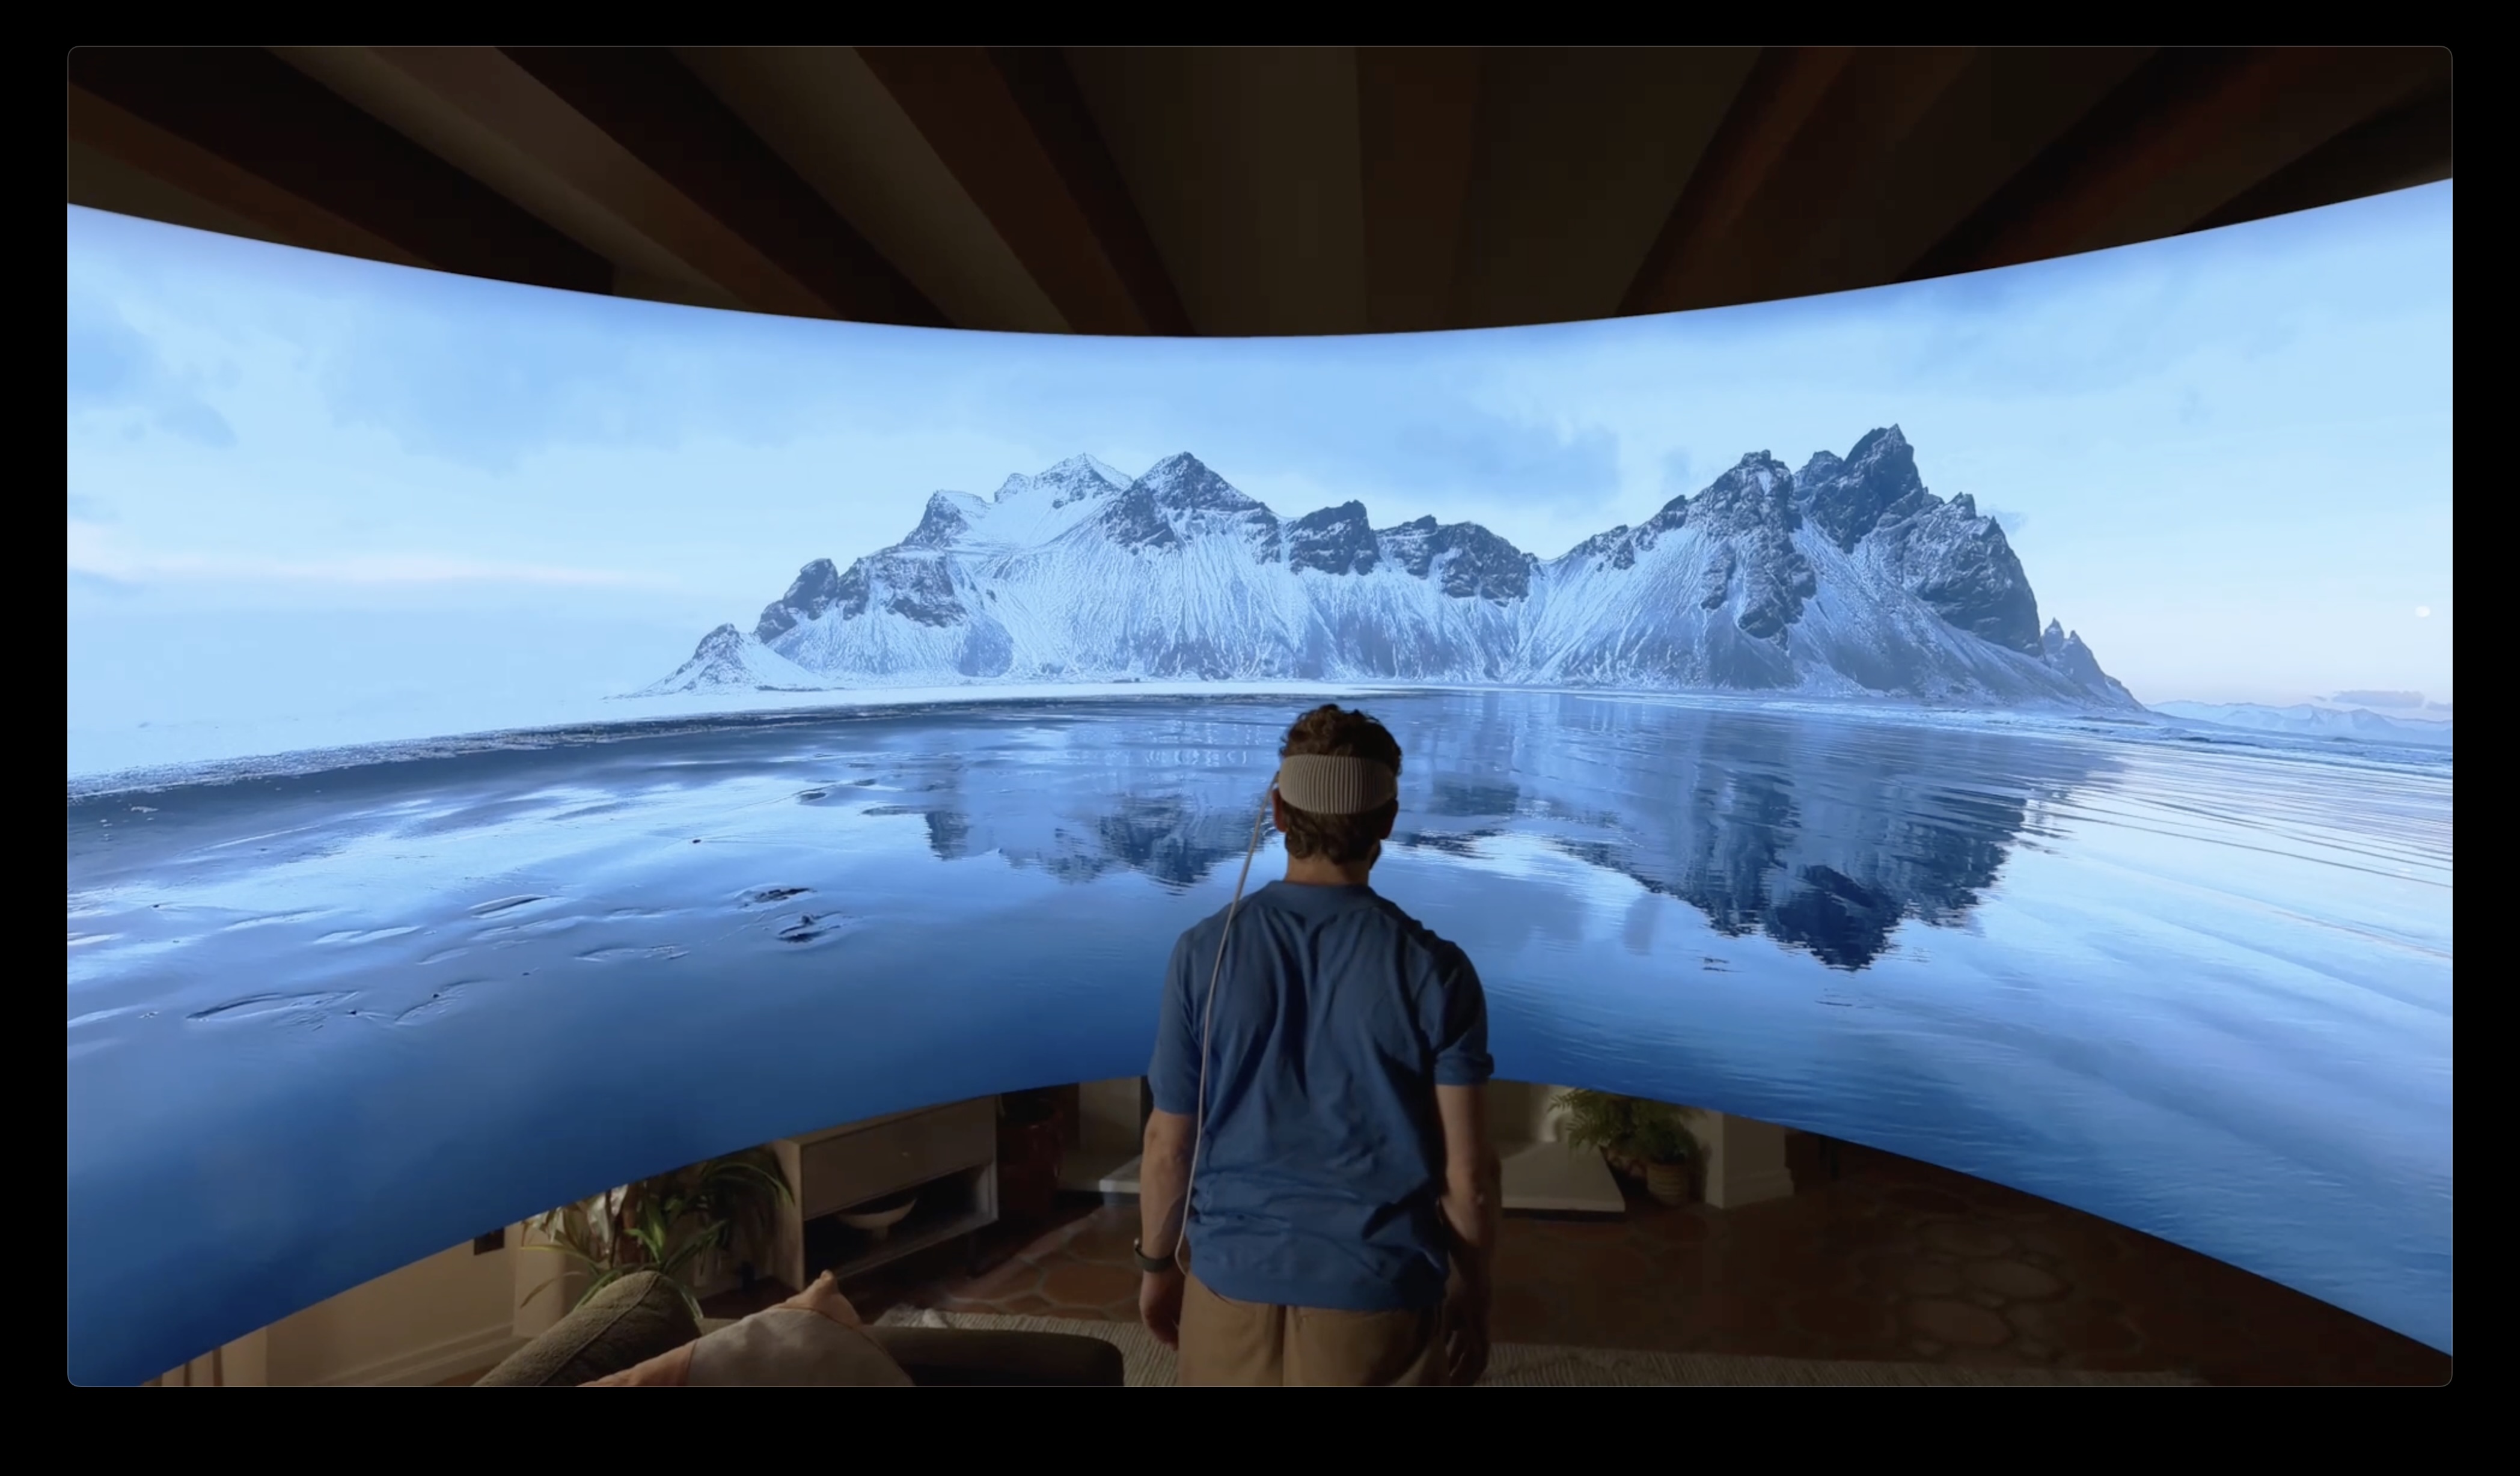
I love this. For years I’ve been capturing panoramic photos from my favorite scenic overlooks, but the experience of viewing them was always a bit underwhelming. If you look at them on your iPhone/iPad they are nice but completely lack any sense of scale or wonder. The best approach I’ve found so far is to have them printed large scale and then mounted on the wall. My walls are littered with these prints and I’m very fond of walking up to them and standing a few feet away to “take in the view”.
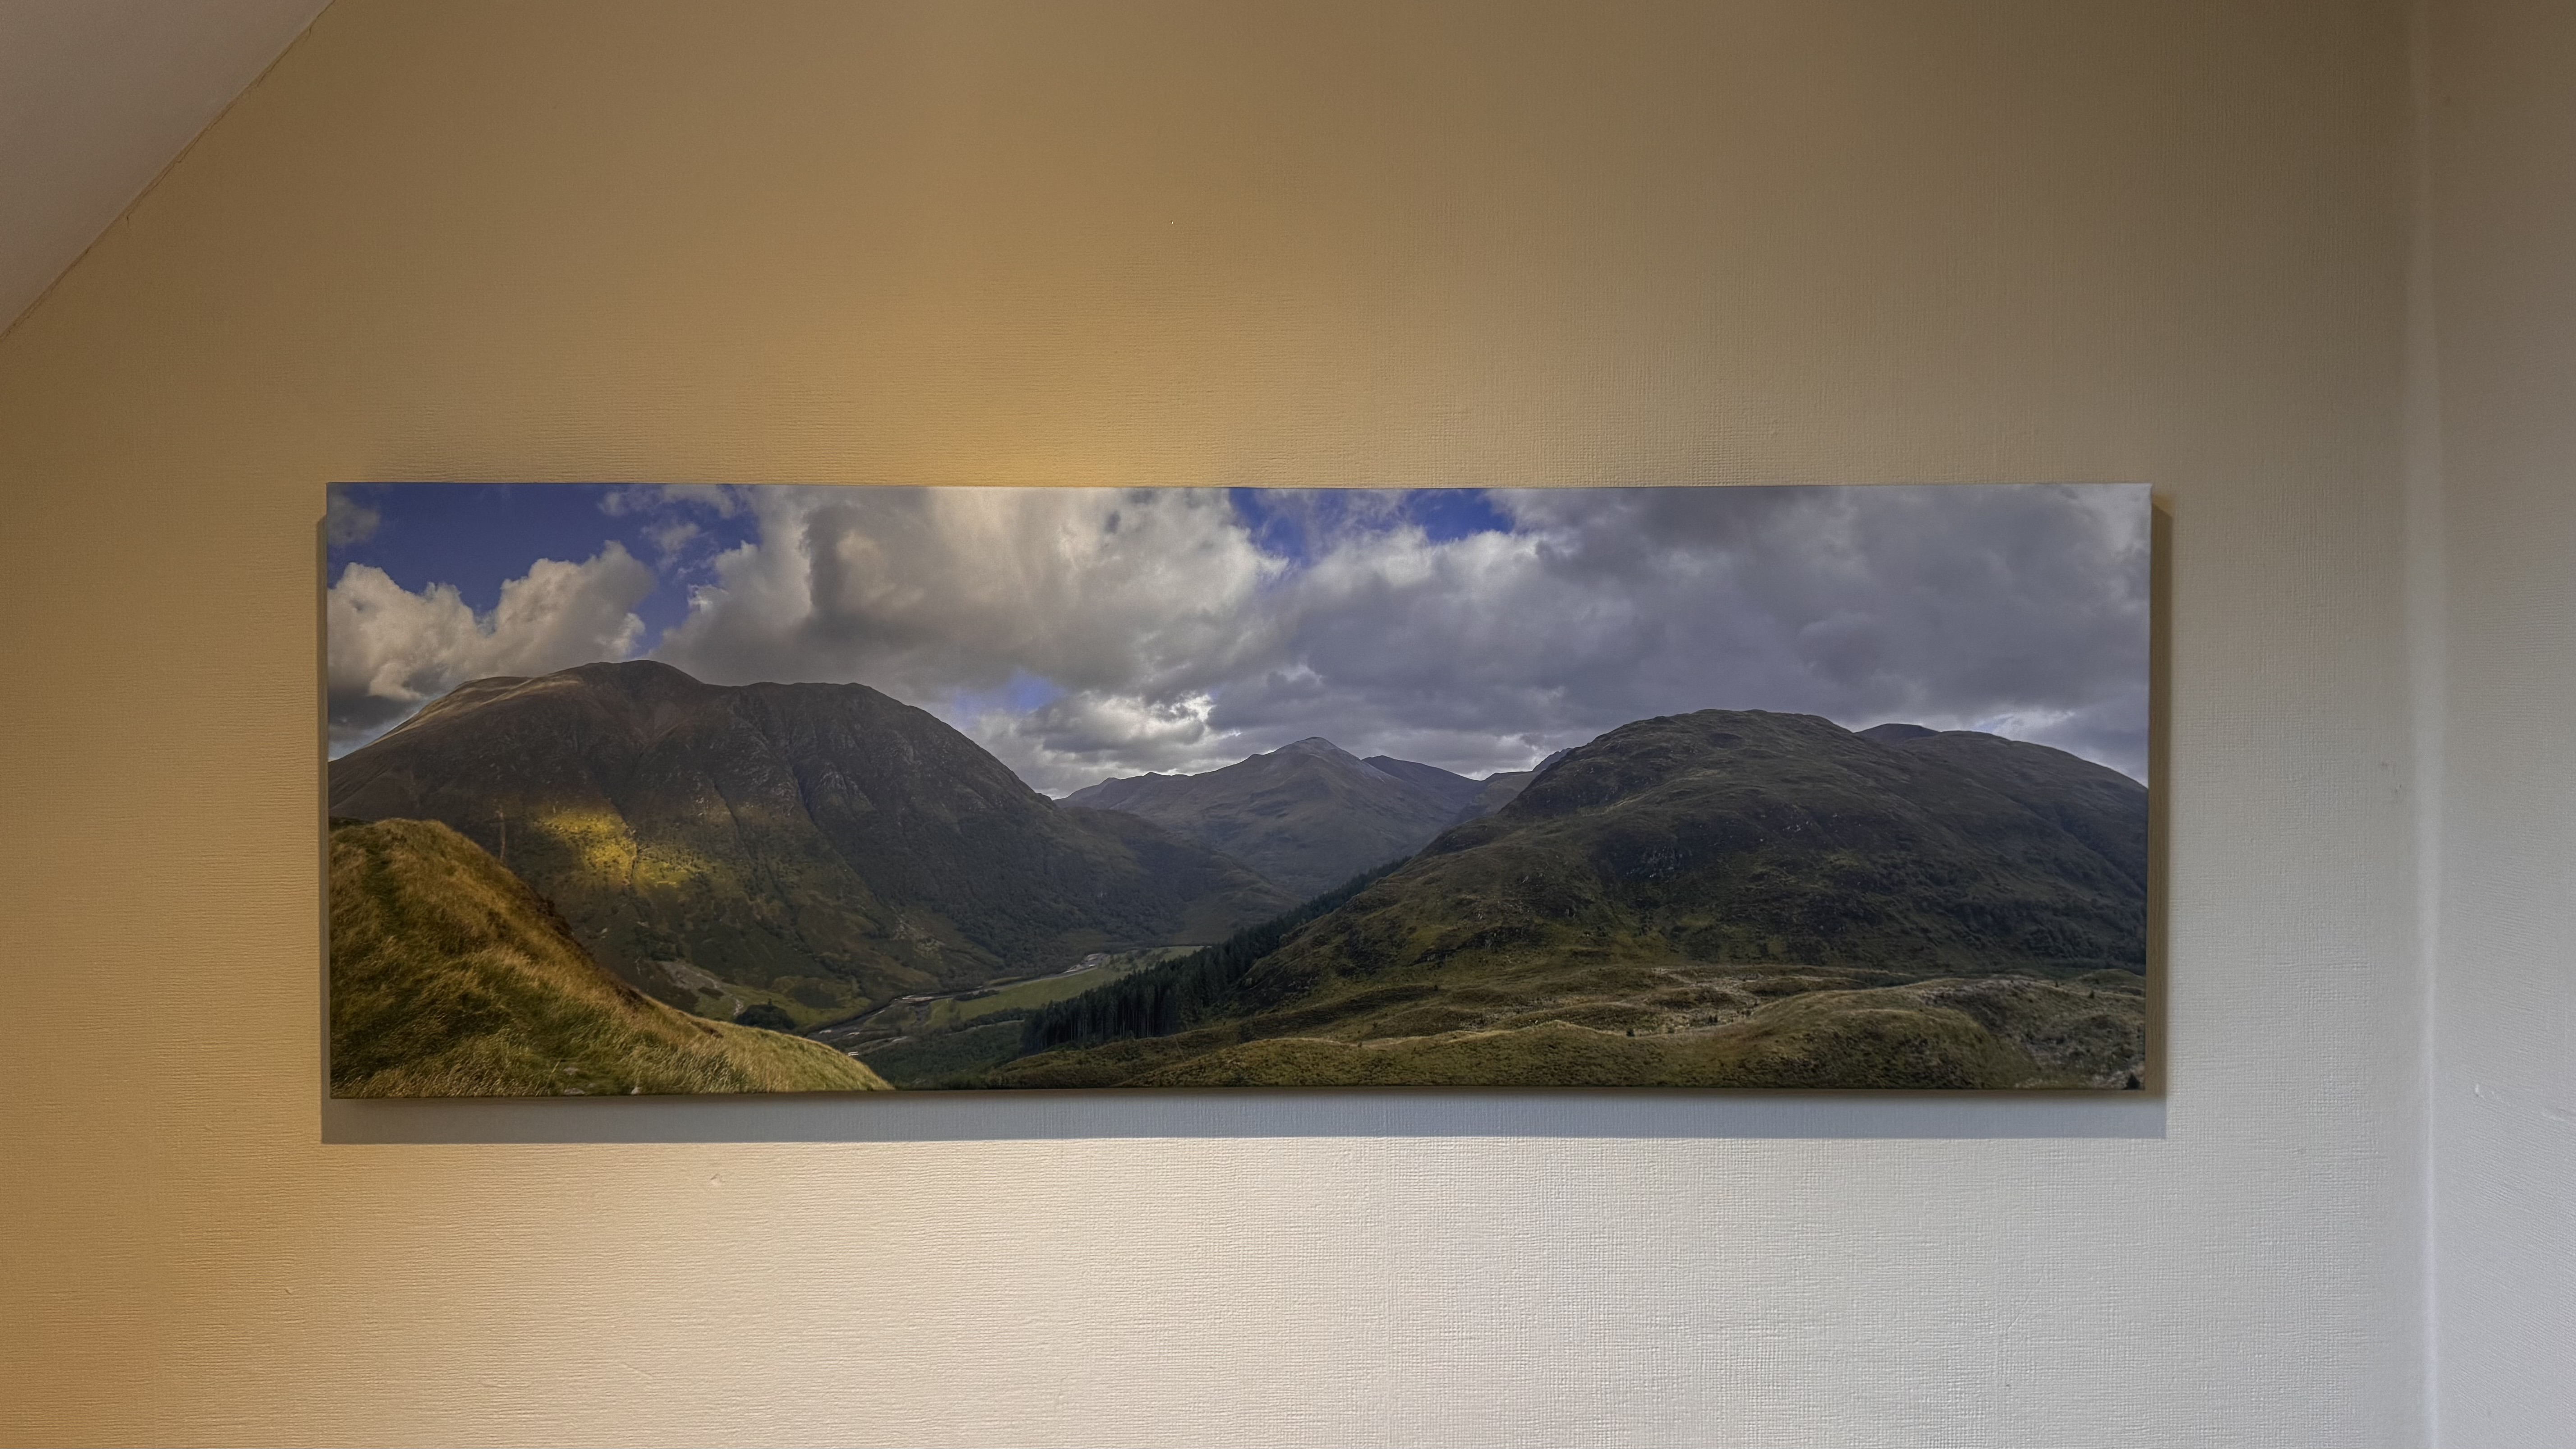
For example this print of Ben Nevis is currently on the back wall of my office.
I capture all of these panoramas on my iPhone (the above image was captured with an iPhone 14 Pro and is printed five feet wide). What became clear very quickly after starting to make large prints of iPhone photos is that resolution is king. The iPhone camera is amazing for its convenience but up until recently the limit of 12MP captures made making compelling large format prints really difficult. But starting with the iPhone 14 Pro we can now capture images up to 48MP, so now we have 4X the pixels to play with.
The iOS Camera app has a default mode for recording panoramas. This is a very clever bit of UI which guides you to sweep your camera across a landscape in a level fashion. The result of this is very good for a quick capture, but unfortunately right now these panoramas are limited to roughly the width of a standard 12MP capture (you shoot panoramas vertically so sensor width becomes the height of the panorama).
Looking at these iPhone panoramas on a Vision Pro is lovely, they have barely enough resolution to give a good sense of being back at the place where the image was captured. However, after the initial WOW! factor has worn off I started to really notice the fuzziness of the presentation. Presenting an image which is around 3900px tall at a conceptual height of about six feet tall just isn’t enough resolution to really feel immersive.
Thankfully because of my aforementioned photo printing experience in addition to having countless standard iOS panoramas, I also have countless super-resolution iPhone panoramas too.
I continue to capture these in the iOS Camera app but instead of using their panorama mode, I just use the regular old camera mode to record a sweep of several individual 48MP photos which I then later stitch together. The results are amazing. That Scotland photo above ended up at 25,326px × 6,609px, or 167 Megapixels. When viewed on a Vision Pro the effect transitions from good to “woah, I’m back in Scotland”.
Last summer I went hiking to the top of Helvellyn in the English Lake District. While I was up there I took two panoramas (well actually I took dozens 🤫, but I’ll show two here). The first was recorded using the standard panorama mode on the iPhone. It ended up being 13,986px × 3,788px (53MP).
 Full Resolution (53MP)
I then also recorded the scene as 20 full resolution 48MP photographs. Holding up my phone in vertical mode and slowly turning around, making sure that each photograph slightly overlapped the previous.
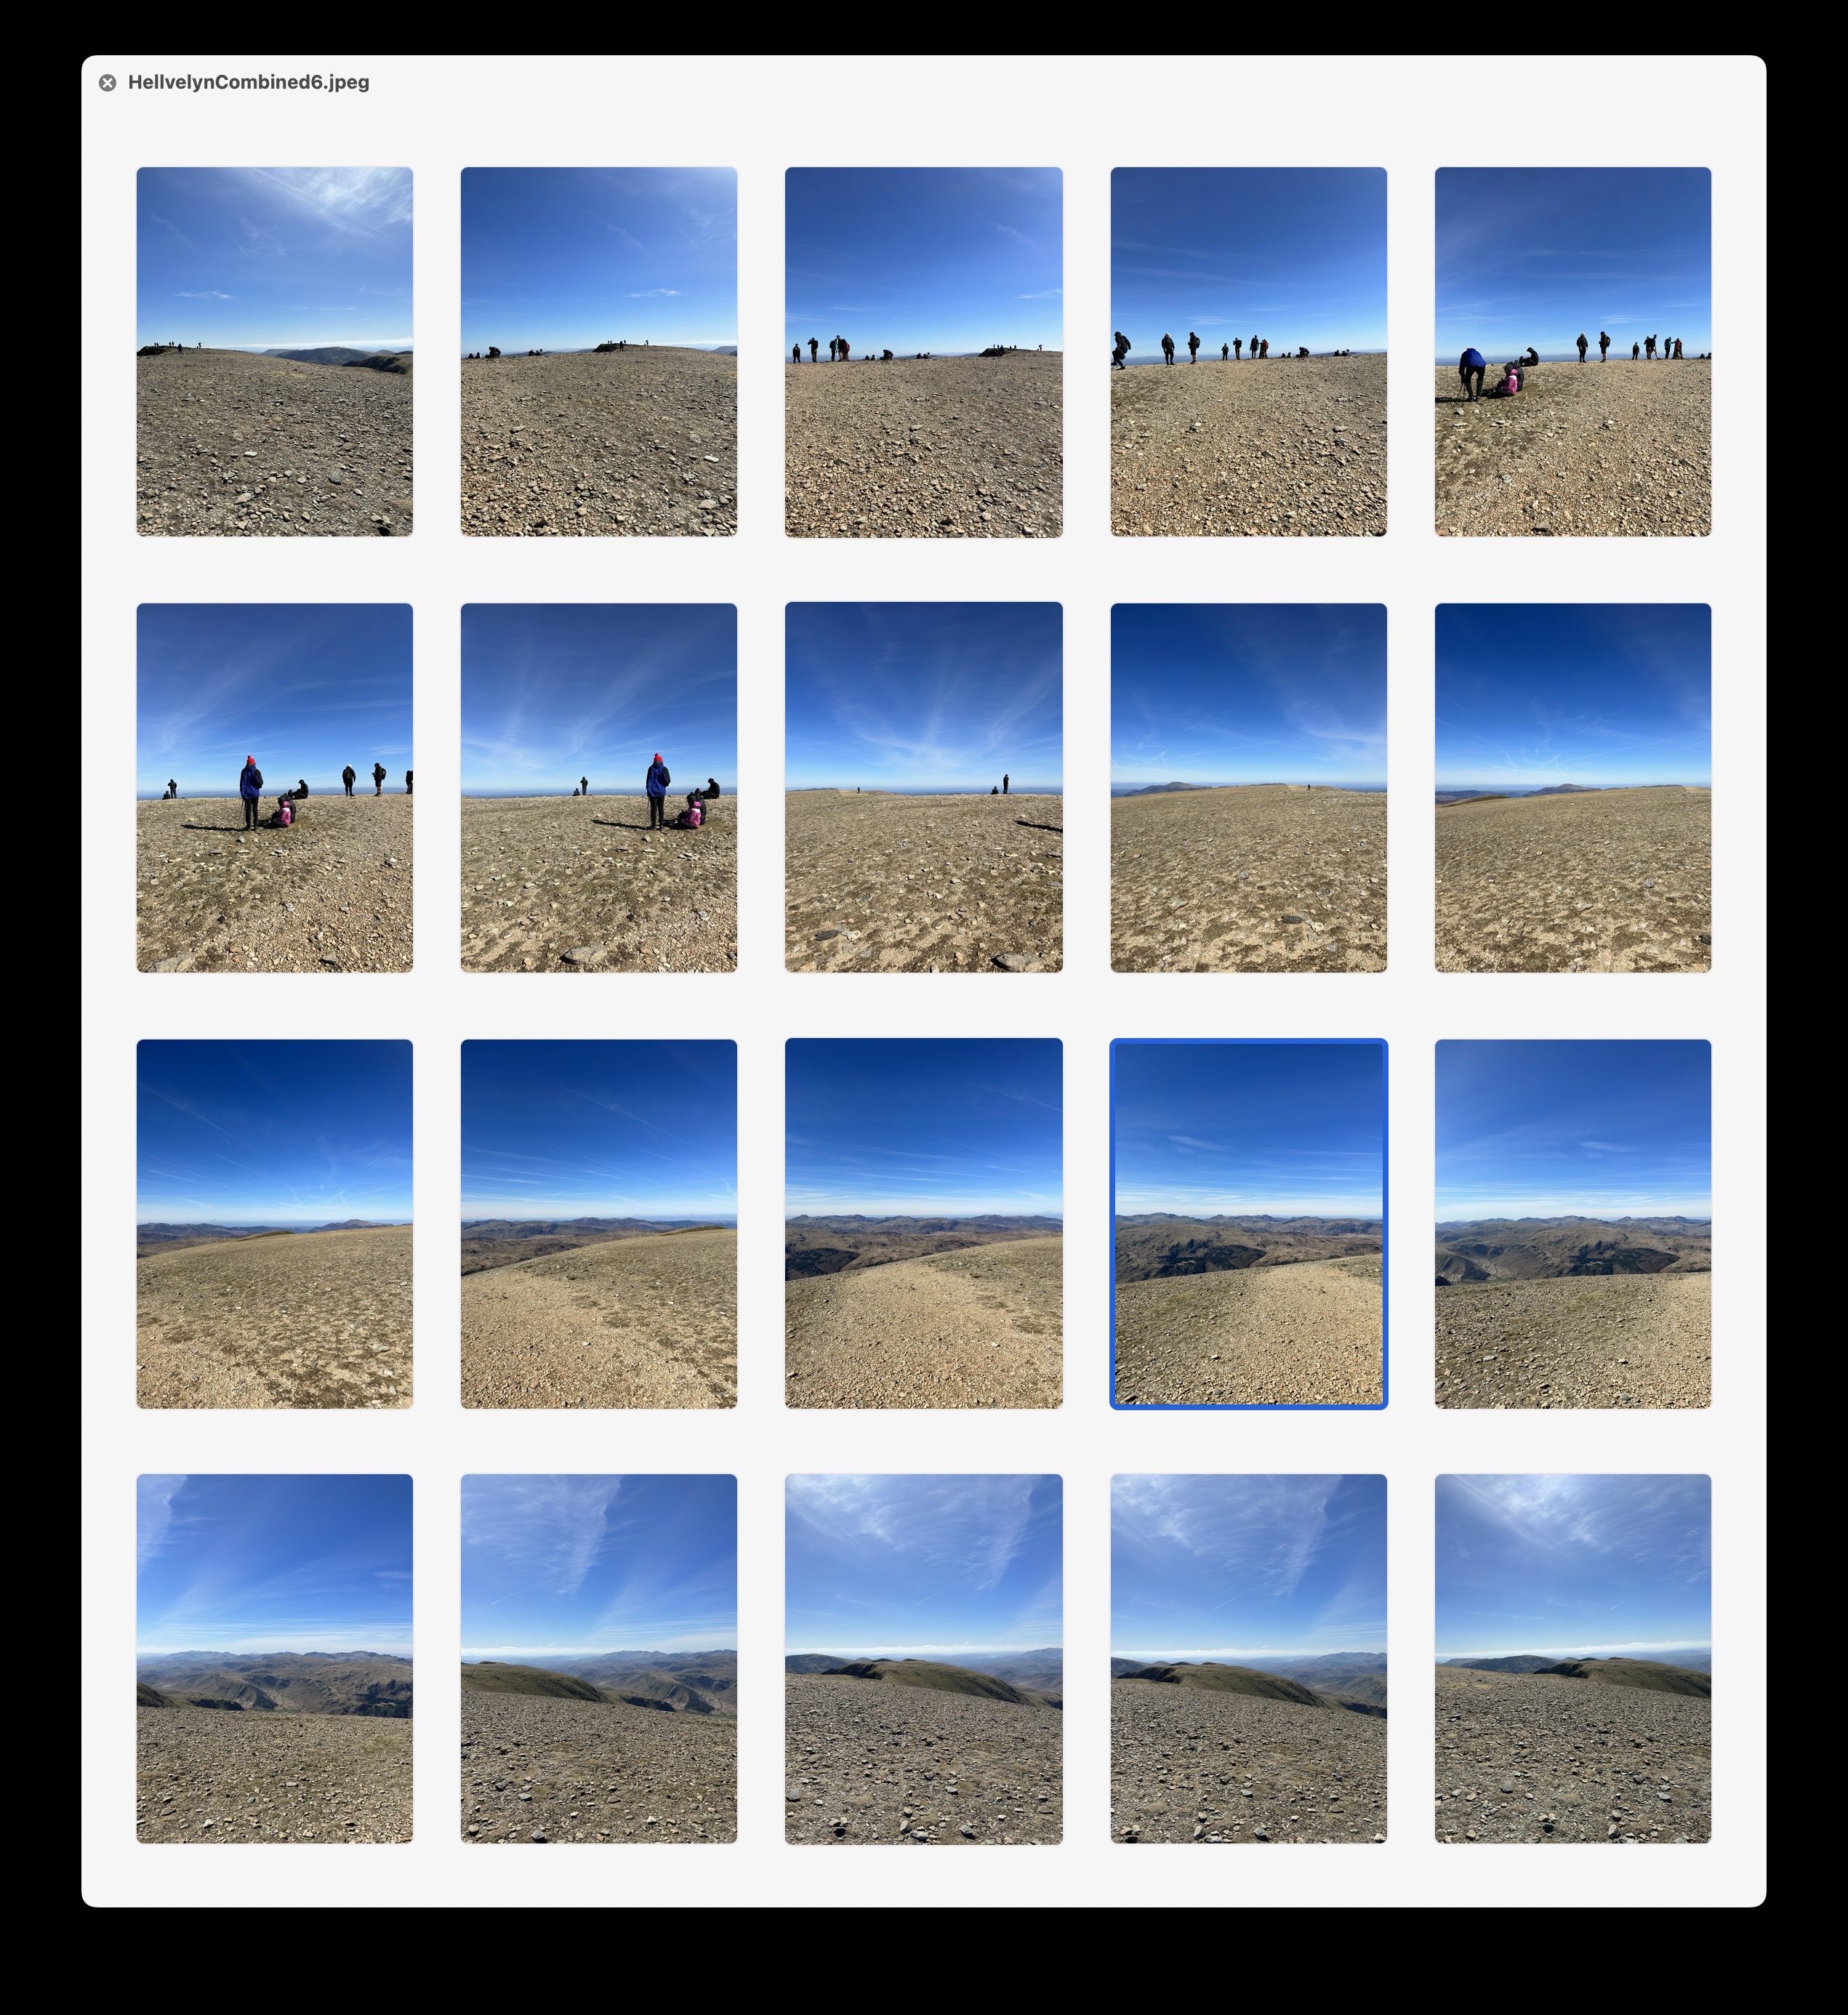
I then merged them together in Photoshop using their “Photomerge” feature (though there are countless tools which can do the merging).
The result is an image which is 41,062px × 7,395px (304MP!).
 Full Resolution (304MP)
You won’t be able to see the difference in this article view, but if you click through on each of those images you can view them at full resolution and the difference is, quite literally, massive. (If you have a Vision Pro, I’d really recommend tapping through and then saving them to your library and trying it yourself, the difference is really difficult to appreciate until you are in the actual immersion)
This approach was made all the easier in iOS 17 with the addition of the ability to capture photos in the “HEIF Max” format which avoids the added complexity of handling RAW photos. I’m sure that the truly ‘best’ version of this would be to use “ProRAW Max” images, but so far I’ve found my inability to expertly process those to mean the ultimate difference in quality is fairly minimal compared to the default Camera app image processing magic.
Loading up this new super-resolution panorama on my Vision Pro and then swiping between the two (you can swipe phots in the visionOS Photos app by pinching your fingers and flicking them), the difference is meaningful. With this much resolution the panorama feels more like an “Environment” than a photograph. The rocks look sharp and the horizon clear. It really feels like I’m back on this windswept mountain peak.
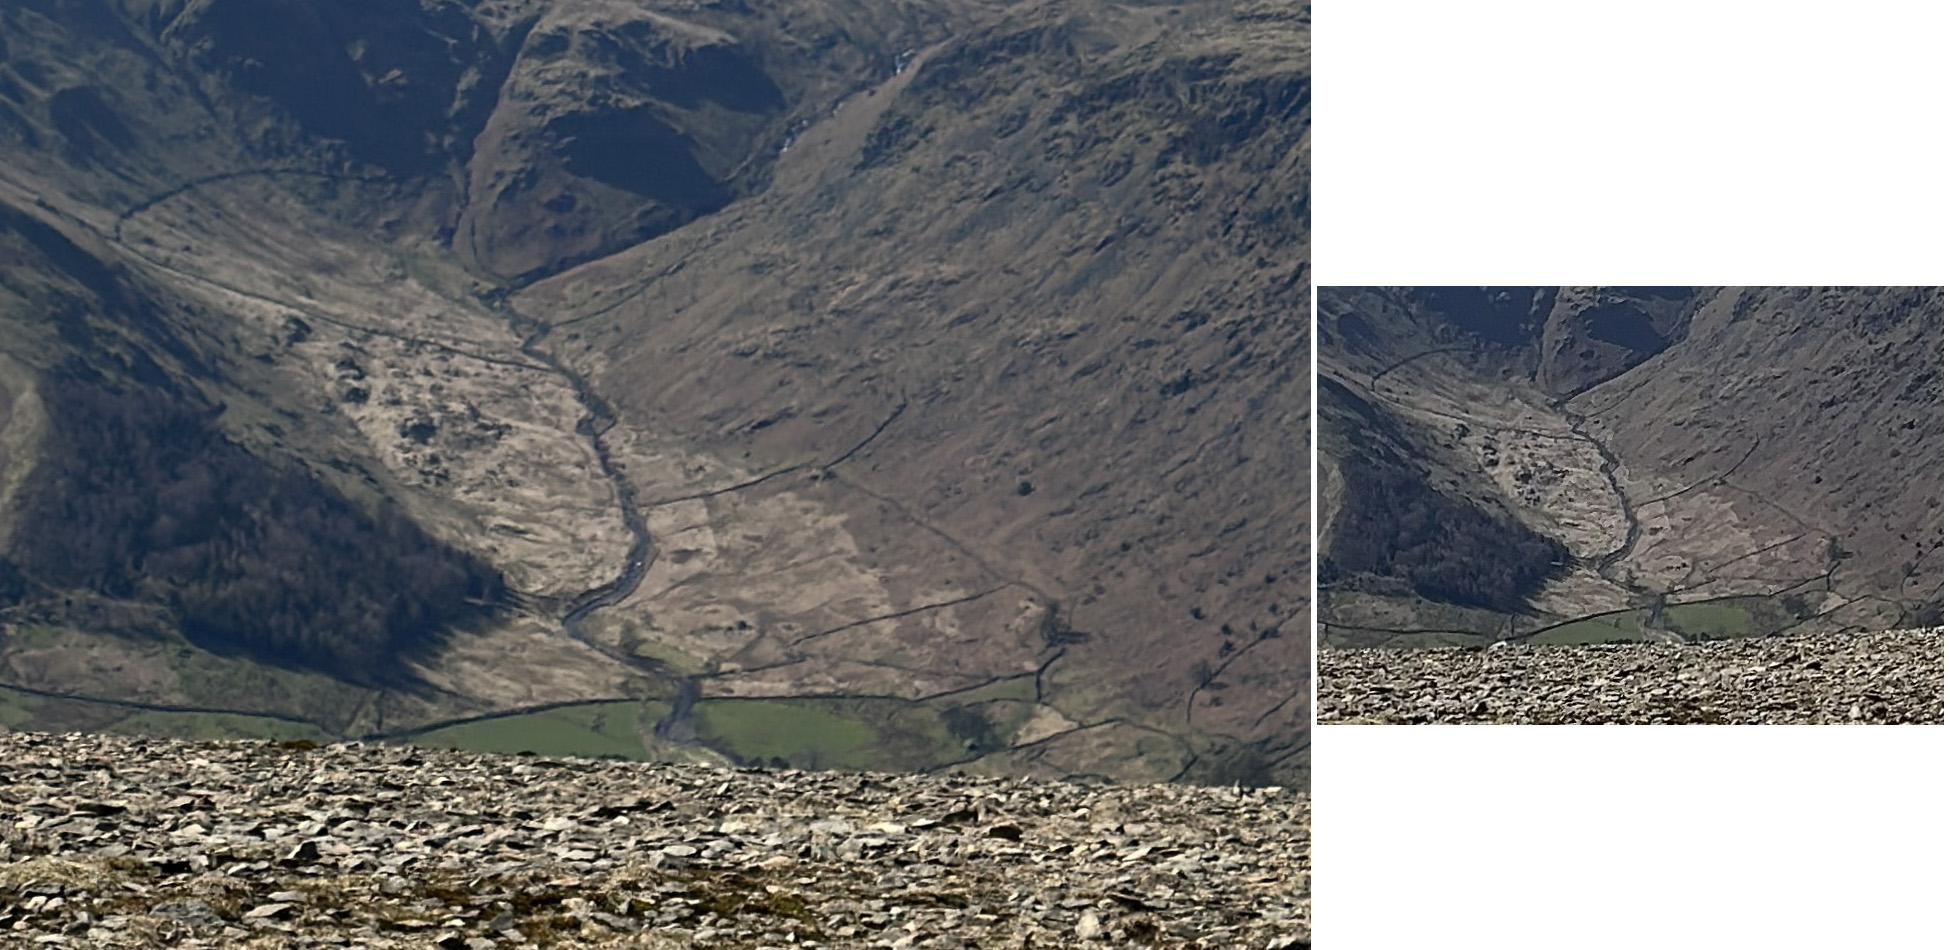
Here’s a 100% crop comparison of a tiny section in each image. On the left is the super-resolution, on the right the regular iPhone panorama. As you’d expect there is essentially twice the information. In many respects this is the “Retina” screen equivalent.
There are two other great benefits of this approach:
- Each individual frame is now a full, regular photograph in your photo library and so can be used on its own for sharing or wallpapers. I use the Photo Shuffle lock screen wallpaper system and it regularly shows me images which are middle frames from panoramas.
- The framing is much more flexible. You can just keep turning around as long as you like, whereas in the iOS Camera panorama mode it has a limited horizontal range. I often will record a full 360º view of the scene. I’ll then end up cropping this down but I can make that decision in the comfort of my office, rather than having to make it on a wind-buffetted, cliff edge.
There are also two big drawbacks:
- You have to be much more careful about the capture in the moment. You need to overlap the frames and keep your camera level, otherwise the results are going to be lackluster. I’ve several times gotten back from a trip only to discover that a panorama I captured is wonky. You also really want to take the time series very quickly to avoid things shifting between frames. To alleviate this I typically will record a quick one with the Camera app’s mode (for safety) and then switch to grabbing the individual frames. Also, the “spirit level” overlay you can turn on in the Camera app is your friend here to keep you from drifting up or down.
- You now have work to do in your office after the trip. Photo management is rarely fun, so if you go down this path you’re adding a chore to your life.
A little pro tip I have for anyone who is interested in trying out this approach is to record a ‘marker frame’ before and/or after the section of panorama frames. Otherwise, what will happen is that you’ll end up looking back through your library at a bunch of very similar photos taken from the top of a mountain and struggle to know which images need to be stitched. My approach to this is to take a photograph of my fist right before and after the series. This is logistically very easy to do and then when I’m reviewing my photographs these ugly markers will always jump out to me help me find the frames I’m looking for.
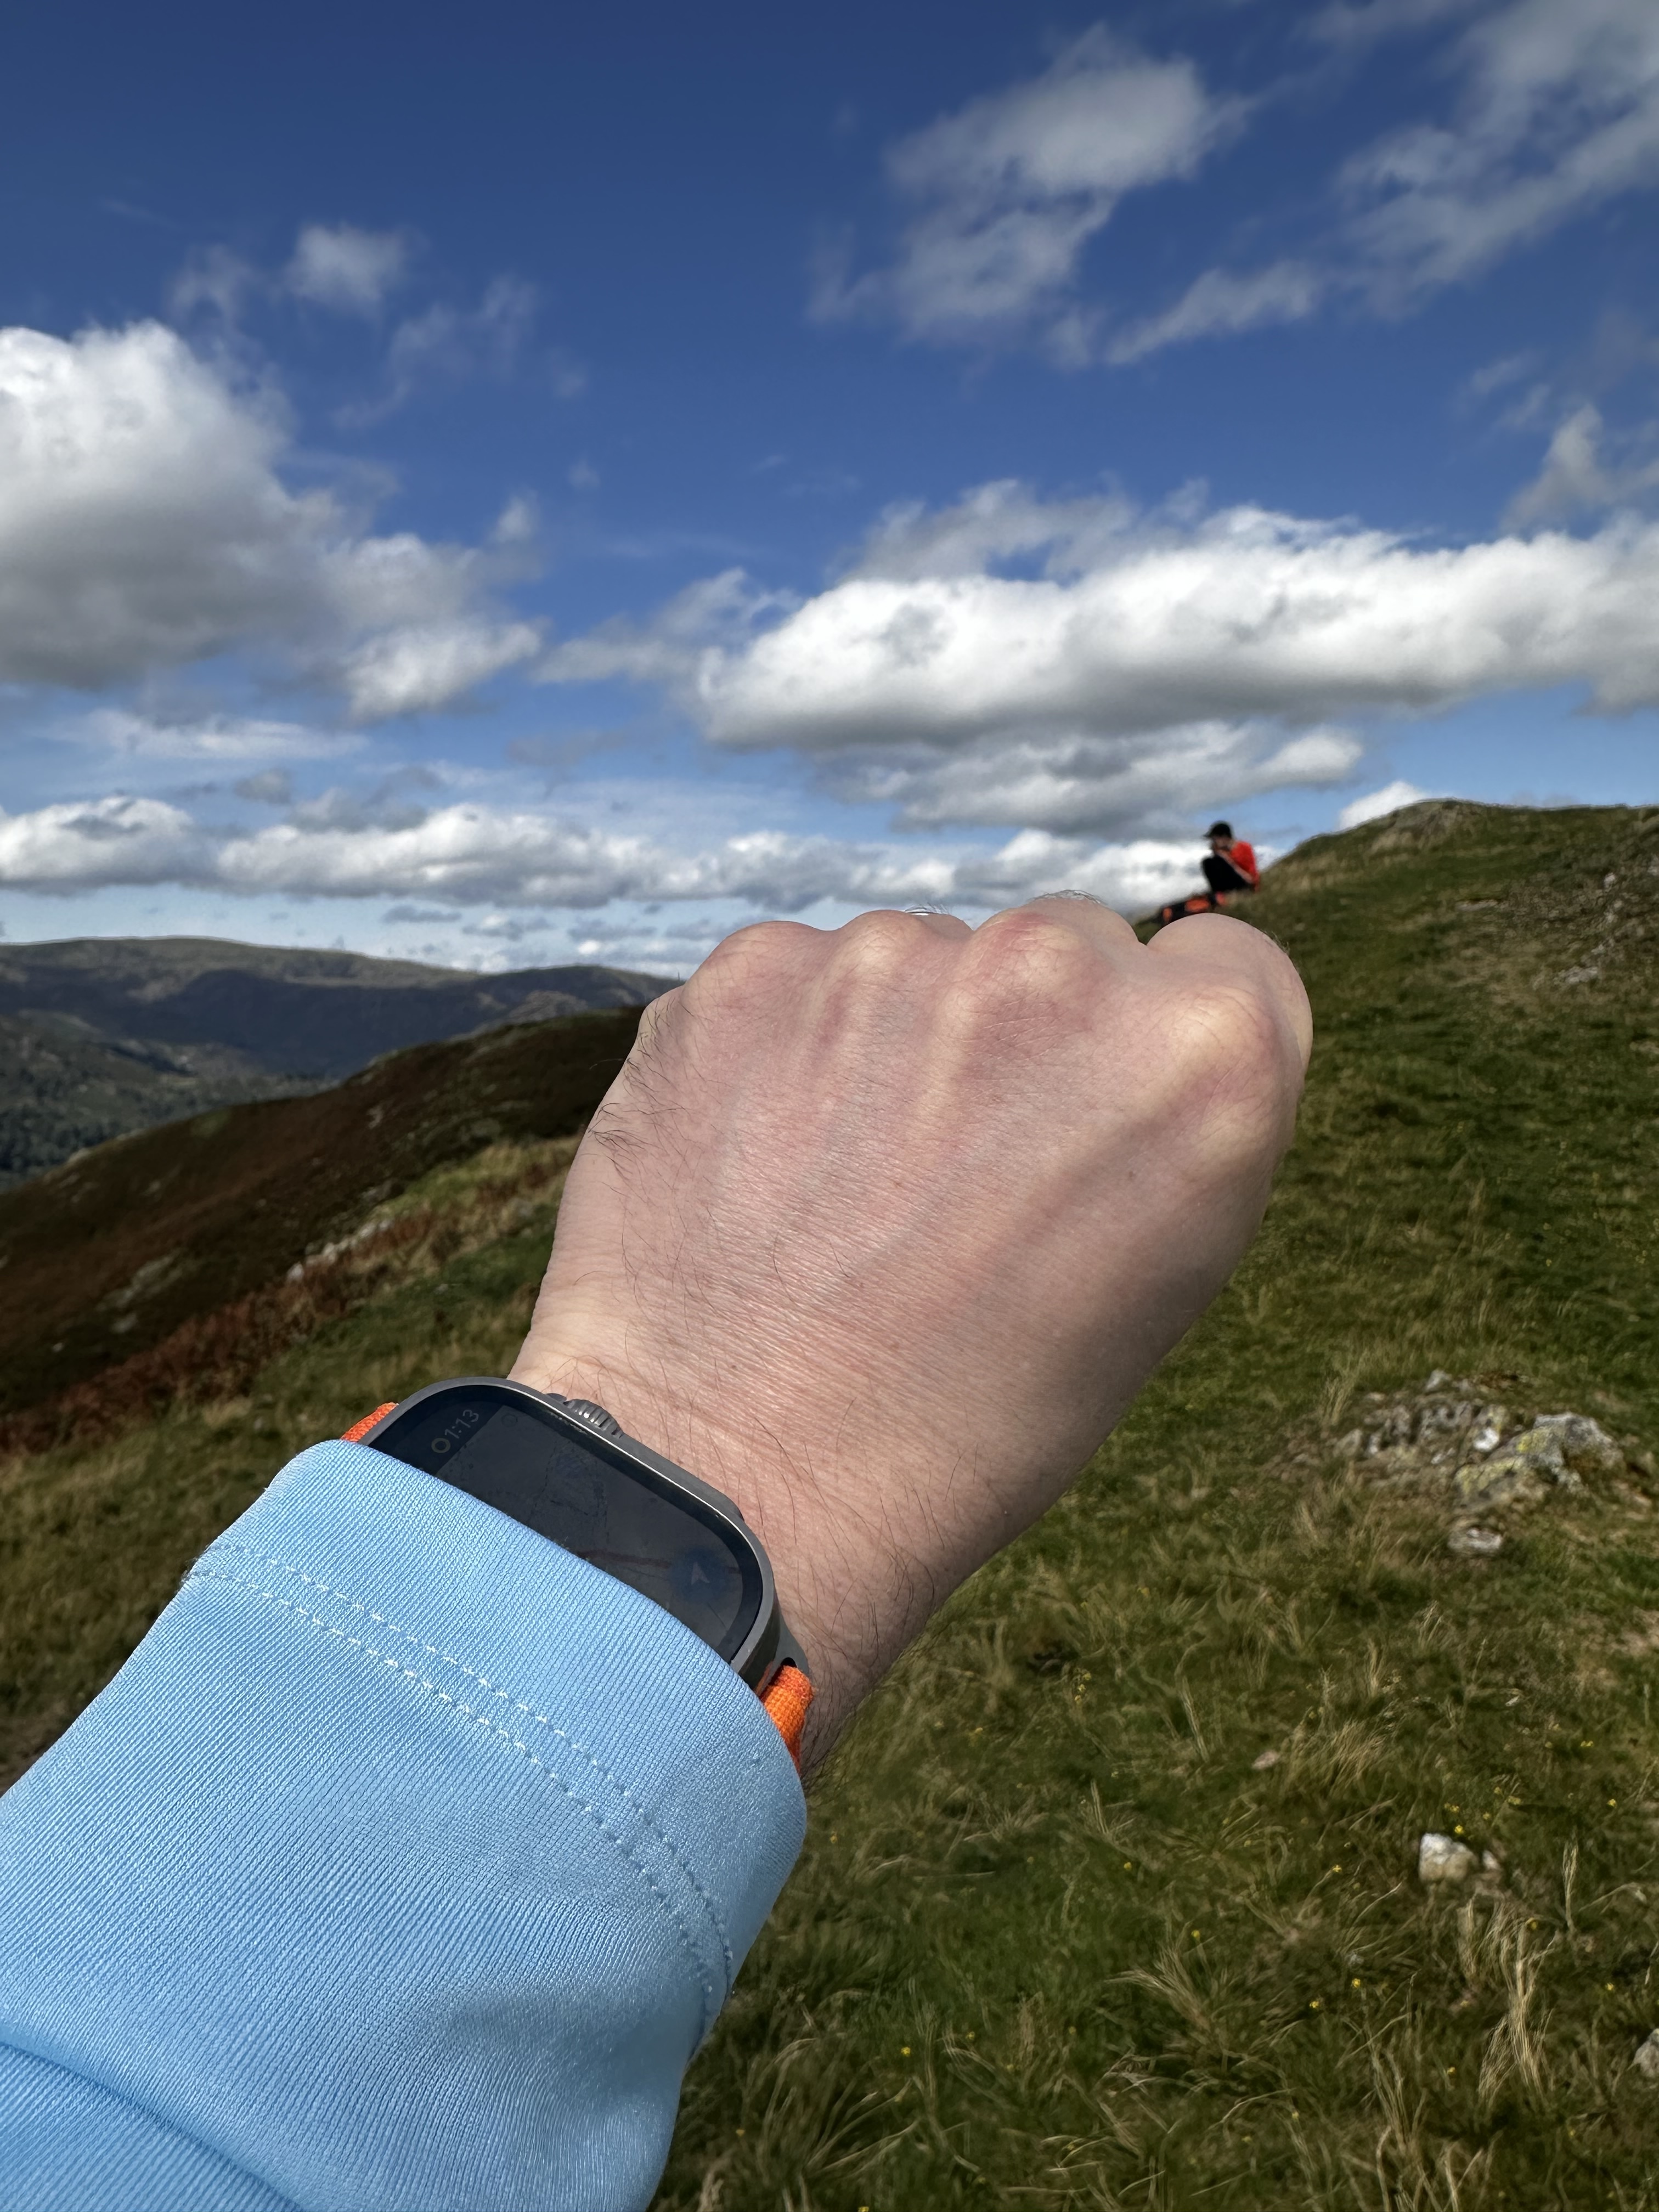
And hey, if you start to pursue this on your next wilderness trips you’ll also end up with photographs you can print in large format and put up on your walls. While I love the immersive feeling of looking at these photographs in visionOS, there is nothing to beat beauty of classic, analog art on your walls.
I would be delighted (and not at all surprised) if this kind of capture came in iOS 18 or the iPhone 16 Pro. It seems highly likely that Apple will do whatever they can to ensure that the panoramas they are collecting will look as awesome as possible in visionOS.
Here are a few other full-resolution images if you’d like to try ‘em out:
From Stybarrow Dodd
 Full Resolution (126MP)
Ullswater
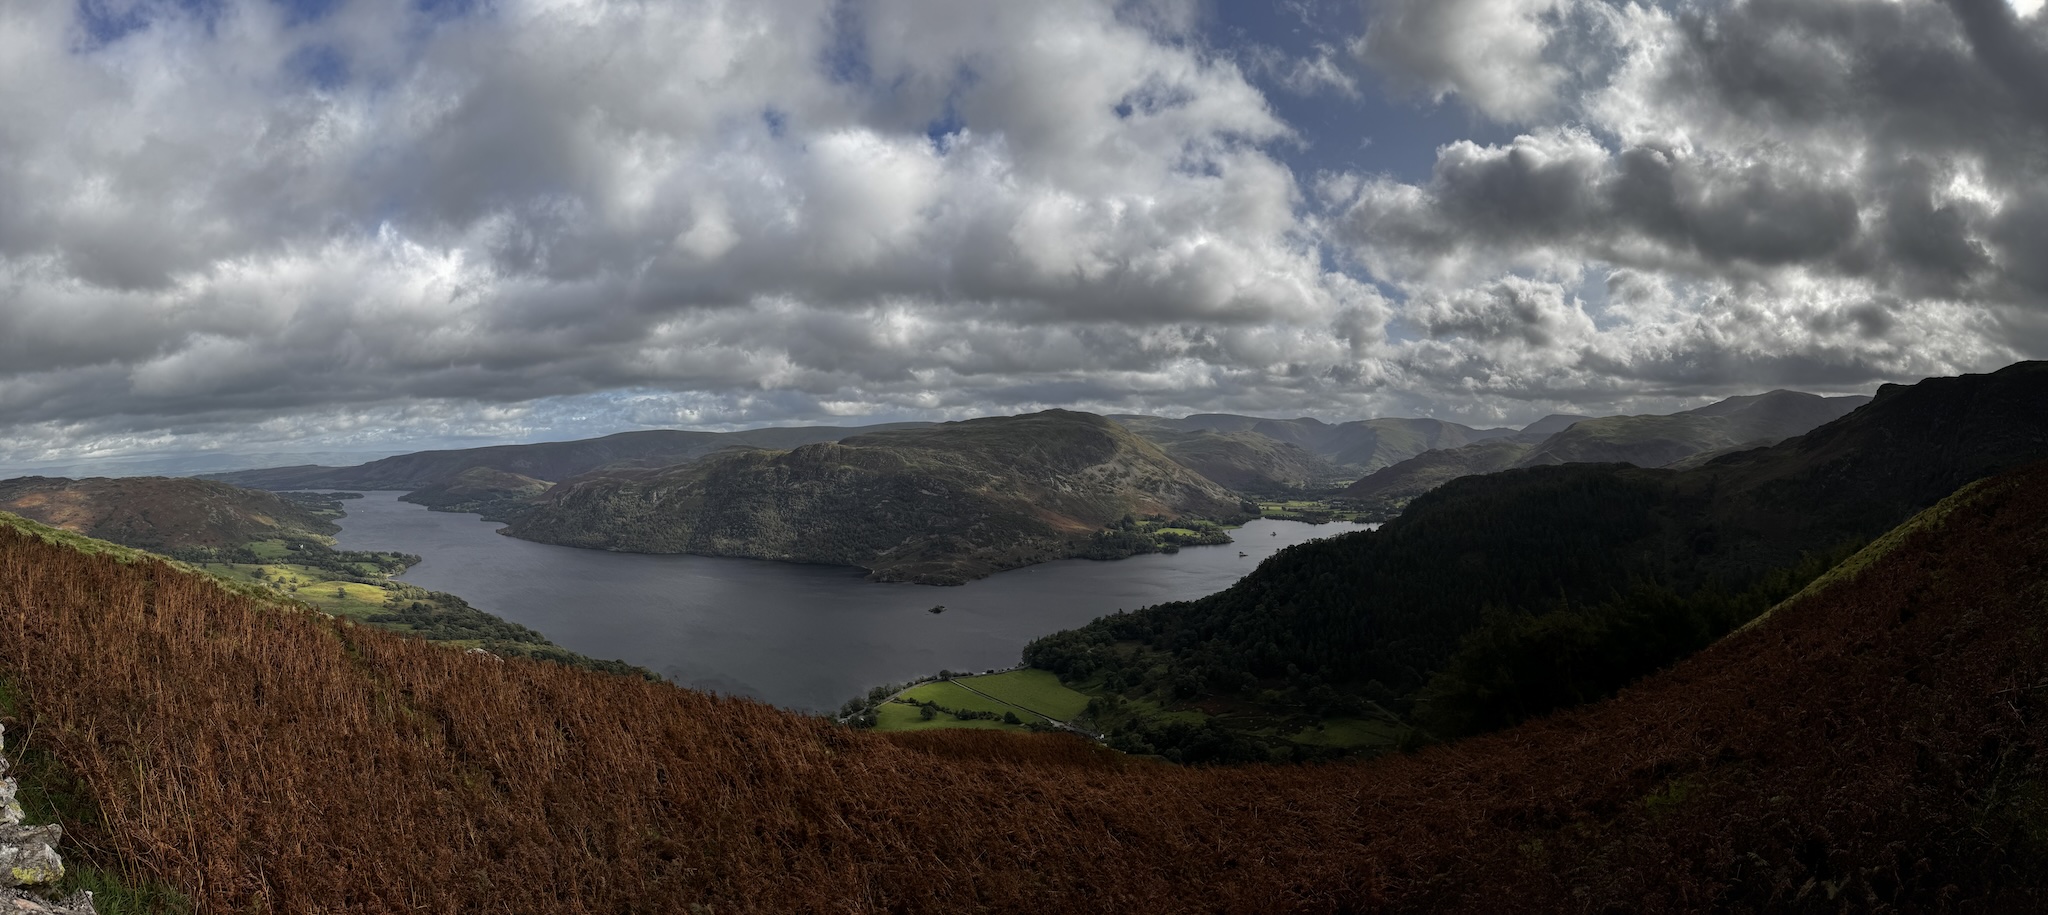 Full Resolution(57MP)
Ben Nevis
 Full Resolution (167MP)
Blackwater Reservoir
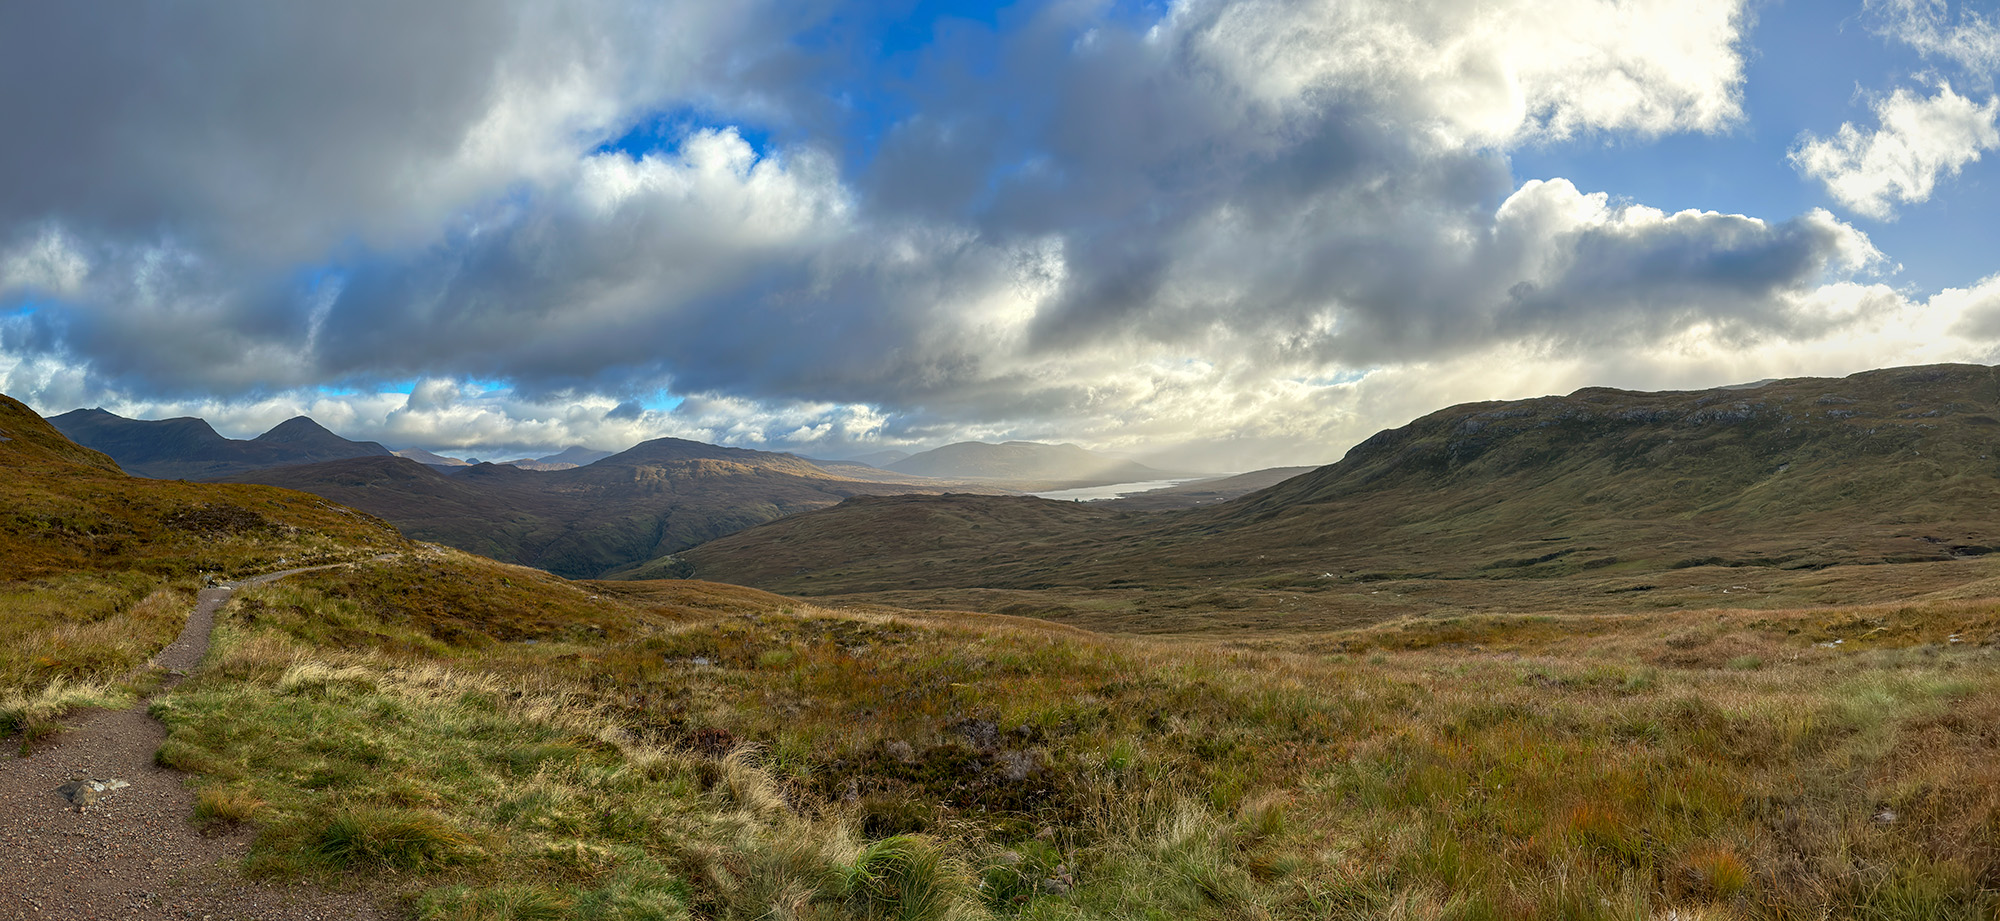 Full Resolution (96MP)
Or if you’re wondering how this technique would apply to a 12MP capture series (where I just took regular old photos). Here is one from the top of Loughrigg, where I forgot to turn on the 48MP mode. It is still, I think, better than what a Camera.app pano would look like but doesn’t quite have the sharpness.
 Full Resolution (50MP)